How to Configure Amazon SES in Icegram Express
MaxConnect Amazon SES (Simple Email Service) with Icegram Express for cost-effective, high-volume email deliverability.
Amazon Simple Email Service (SES) is a highly scalable, reliable, and cost-effective cloud email service. It is ideal for sending high-volume newsletters and transactional notifications with exceptional deliverability.
Part 1: Set Up Your Amazon AWS Account & IAM Credentials
-
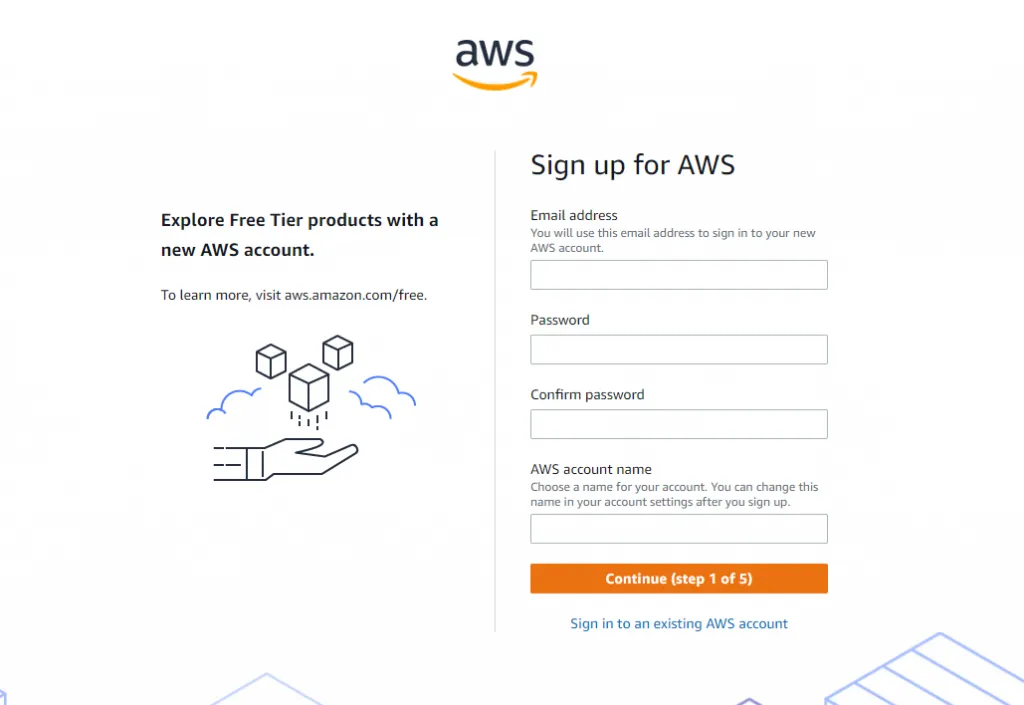
Log in to your AWS Management Console (or create a new account).
-
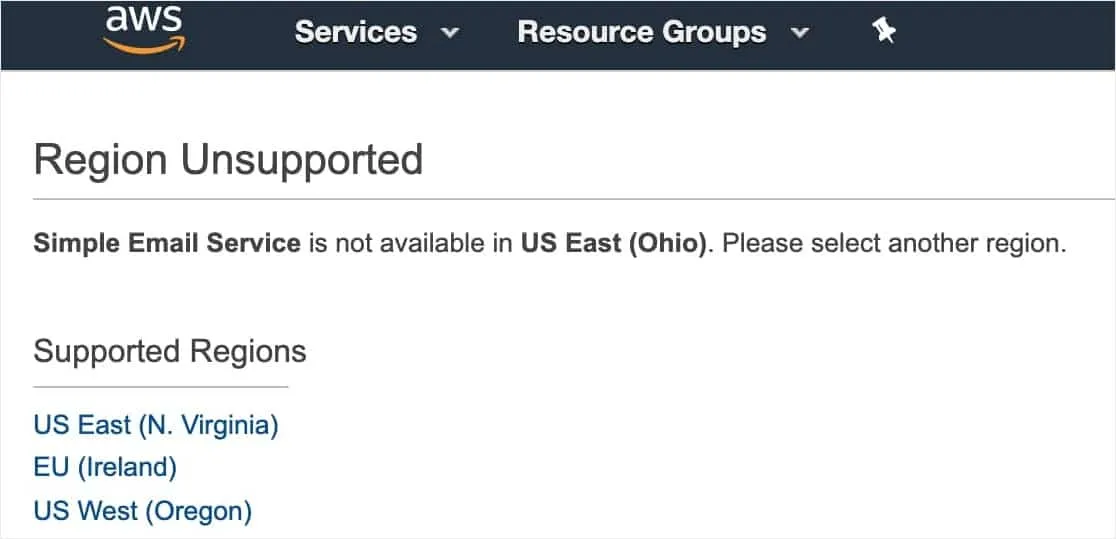
Select your closest AWS Region from the top navigation bar.
-
Open the IAM (Identity and Access Management) console and navigate to Users > Add User.
-
Enter a descriptive username (e.g.,
icegram_ses_user) and select Programmatic access.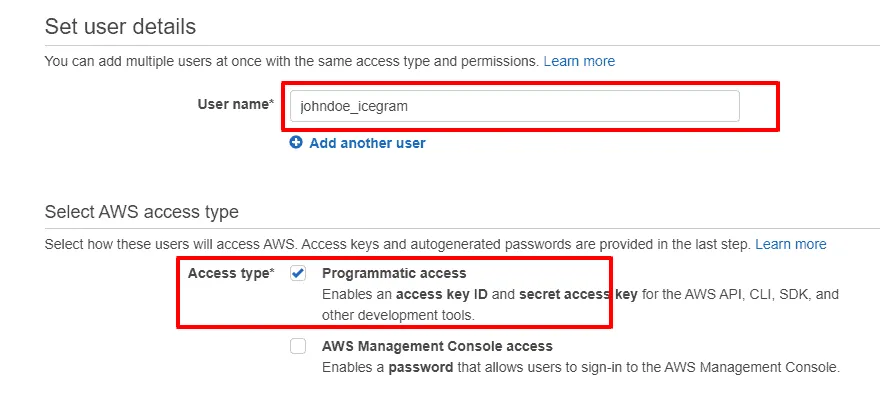
-
Under Set permissions, choose Attach existing policies directly. Search for
AmazonSESFullAccessand check its box.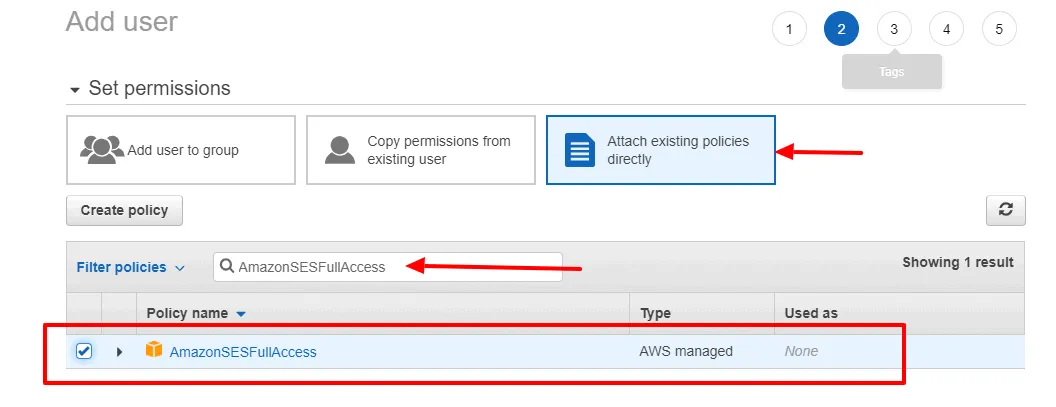
-
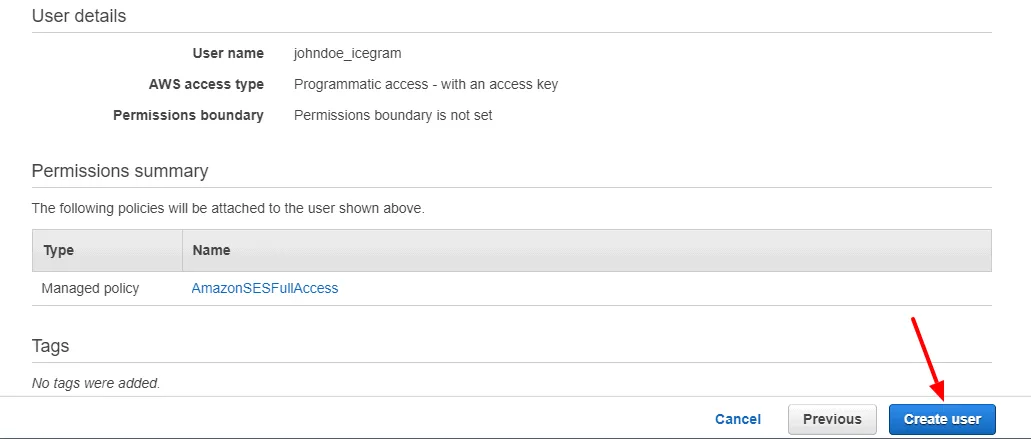
Click Next through tags to the Review screen and click Create User.
-
Download or copy your Access Key ID and Secret Access Key. Store them securely, as the secret key cannot be retrieved again after closing this window.
Part 2: Switch Amazon SES from Sandbox to Production
By default, AWS accounts start in SES Sandbox mode, where emails can only be sent to verified addresses. To send to all subscribers:
- In the Amazon SES console, navigate to Account dashboard.
- Click Request production access (or open a Support Case under Service limit increase).
- Describe your email marketing use case, confirming opt-in practices and bounce/complaint handling.
- AWS typically approves production requests within 24 hours.
Part 3: Configure Amazon SES in Icegram Express Max
- In your WordPress admin, ensure Icegram Express Max is activated.
- Go to Icegram Express > Settings > Email Sending.
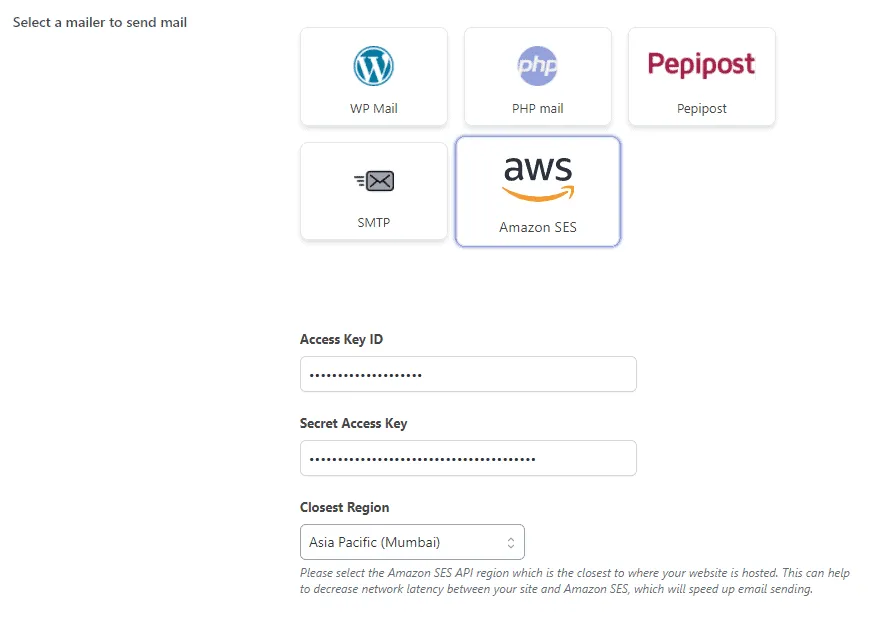
- Under Select a mailer to send mail, select Amazon SES.
- Enter your:
- Access Key ID
- Secret Access Key
- Region (e.g.,
us-east-1oreu-west-1, matching your AWS SES console).
- Click Save Settings.
- Use the Send Test Email tool at the top of the settings page to verify that emails deliver successfully.