How to Configure SparkPost in Icegram Express
MaxConfigure SparkPost email transport in Icegram Express to send high-volume newsletter campaigns.
SparkPost is an enterprise-grade cloud email delivery service designed for high throughput, real-time analytics, and optimized inbox placement.
Part 1: Add and Verify Your Sending Domain in SparkPost
-
Log in to your SparkPost account.
-
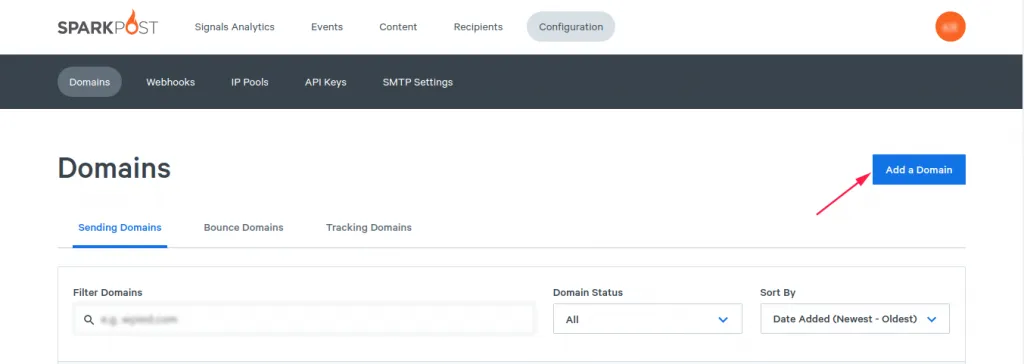
In the navigation sidebar, go to Configuration > Domains and click Add a Domain.
-
Select Sending Domain.
-
Enter your website domain or subdomain.
-
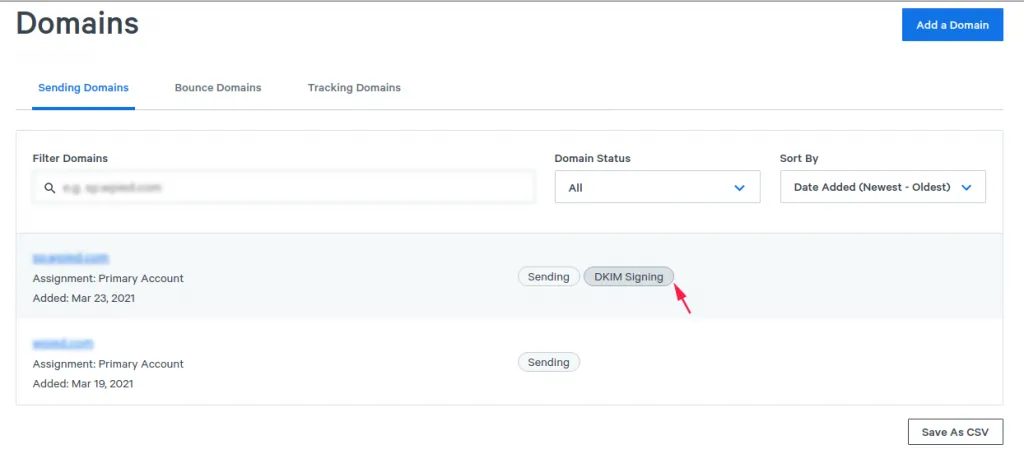
In the DNS Verification section, copy the provided TXT hostname and value for DKIM.
-
Add this TXT record to your domain’s DNS manager.
-
Return to SparkPost and click Verify Domain.
Part 2: Generate a SparkPost API Key
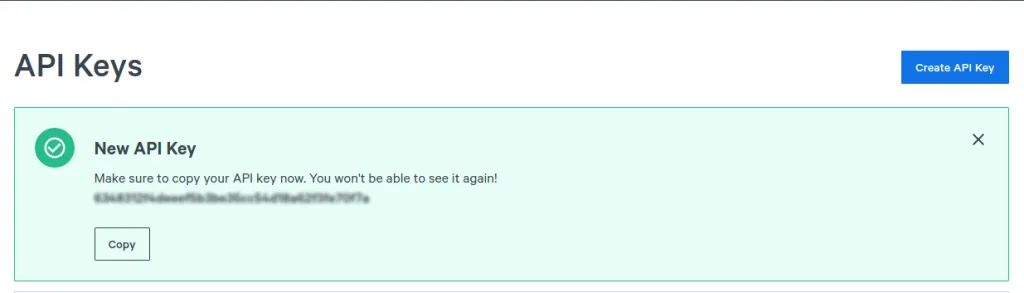
- In SparkPost, navigate to Configuration > API Keys and click Create API Key.
- Name your key (e.g.,
Icegram Express API Key). - Under API Permissions, select Transmissions: Read/Write.
- Click Create API Key.
- Copy and save your new API key immediately.
Part 3: Configure SparkPost in Icegram Express
- In your WordPress admin, go to Icegram Express > Settings > Email Sending.
- Scroll to the Select a mailer to send mail section and select SparkPost.
- Enter your SparkPost API Key.
- Select your Region (United States or Europe, matching your SparkPost account setup).
- Ensure your From Email in Settings > General matches your verified domain.
- Click Save Settings.
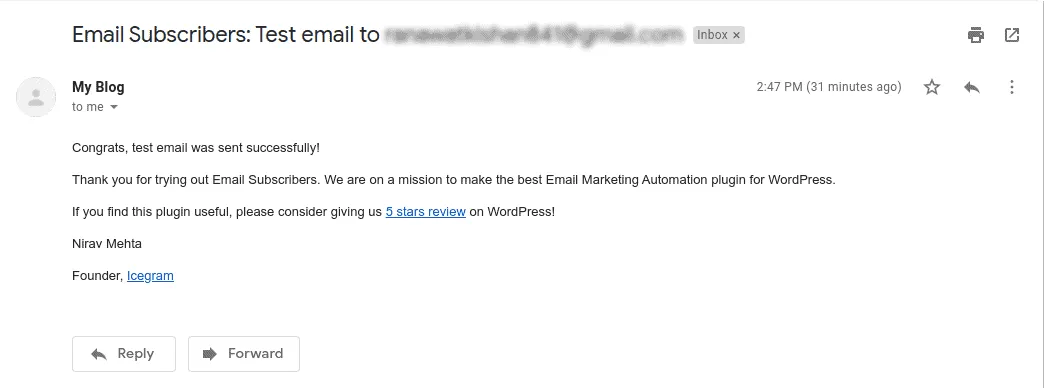
- Use the Send Test Email section to verify email delivery.