How to Create and Send Broadcast Emails using Icegram Express?
Broadcast allows you to design and schedule newsletters on any occasion targeting a group of audience . Be it a product launch or something that you want to share with the audience, broadcast comes in handy when you want to send a customized newsletter on a range of occasions.
To create a broadcast,
Go to your WordPress
Dashboard→Icegram Express→Campaigns→Create New.Click Broadcast (newsletter)

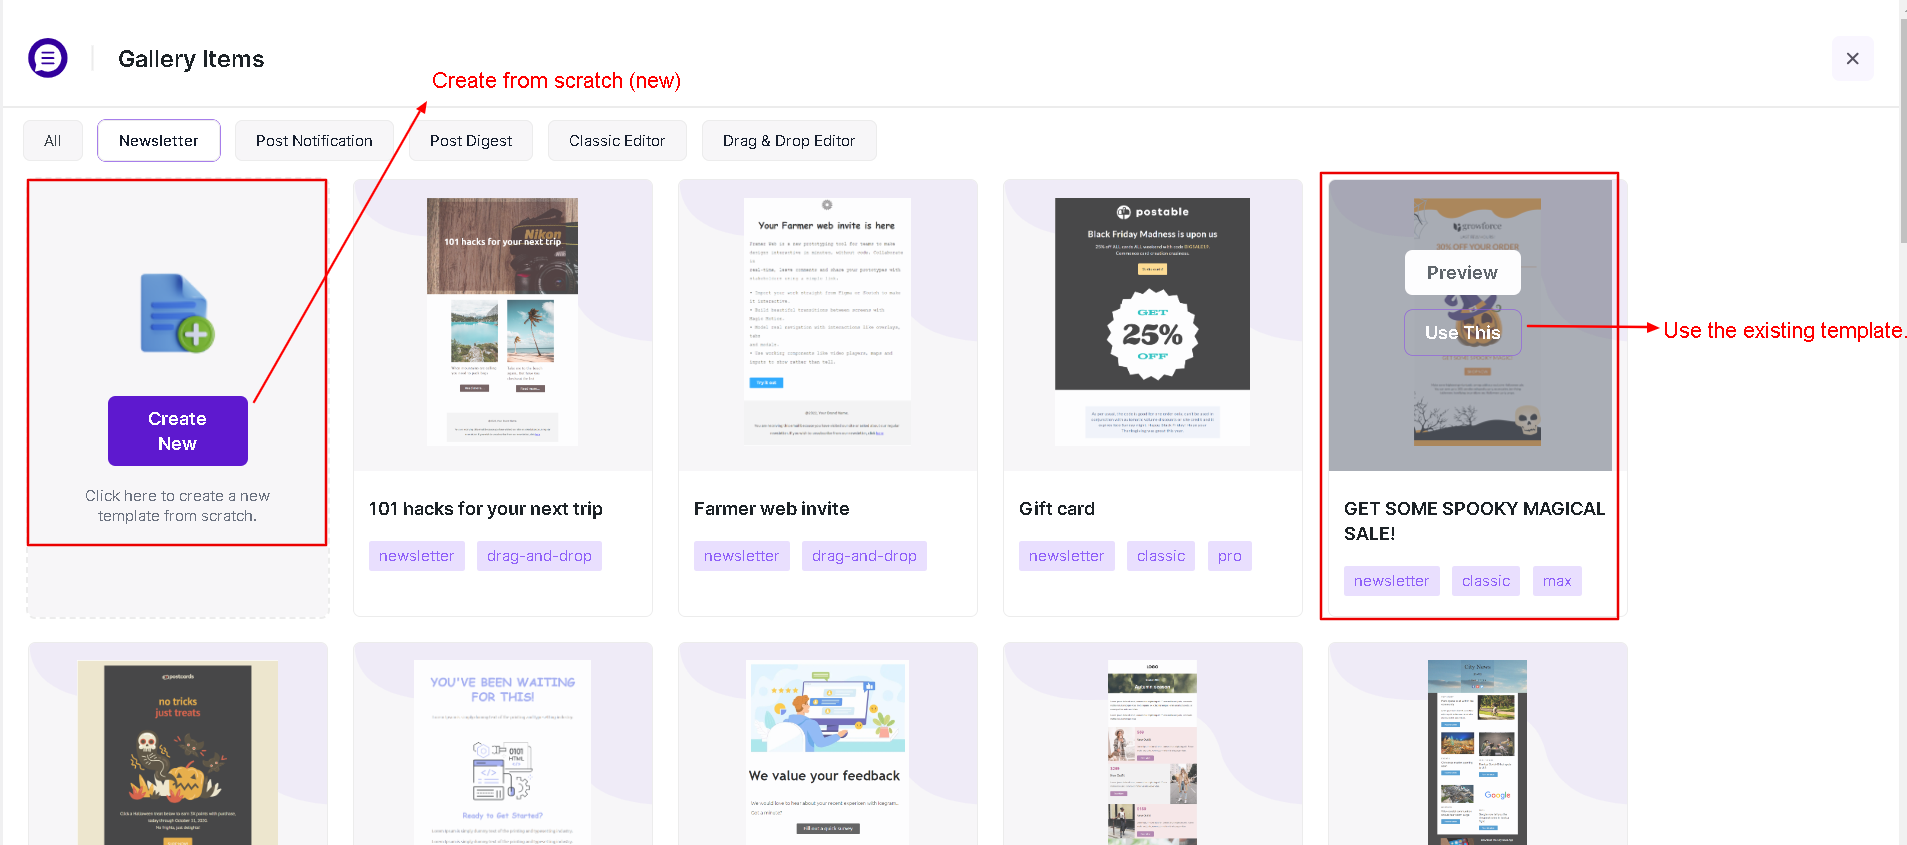
Select the Exsisting campiagn template or Create Template it from scarch.

Enter the campaign details and draft the message:
In the Design tab, you will find:

- Subject: Enter the subject of the email campaign.
- Pre-header: Learn more about pre-header here.
- Design email: Actual email content to be sent.
- Elements: You can drag elements as per your choice.
- Send Test: You can directly send a test email using the button on top. If you're using the lite version, you can send a sample notification to test the list.
- Use Keyword: Click here to learn more about keywords.
In the Publish tab, you will find:

- From Email By default, it is fetched from settings, but you can change it to overwrite the default From Email address.
- From Name: Enter the name for the recipient to see on their end
- Recipients/List: Choose one or more lists under Recipients to target
- Preview: You can view the final email as it will appear.
- Check the spam score and update the message accordingly
- Enable/disable tracking
- Pick an option to send and click Send/Schedule
Adding attachment like pdf, doc etc (since Icegram Express version 4.6.7) , selecting multiple recipient list, preview broadcast with email, checking spam score, link tracking, UTM tracking and scheduling broadcast for later are the features that are a part of Icegram Express Max plan.